Setting up Aptos MCP with Cursor
- Open the Cursor IDE
- On the project root folder, create a
.cursorfolder - In the
.cursorfolder, create amcp.jsonfile - Paste this content
{ "mcpServers": { "aptos-mcp": { "command": "npx", "args": ["-y", "@aptos-labs/aptos-mcp"], "env": { "APTOS_BOT_KEY": "<bot_api_key>" } } }}-
Obtain your
APTOS_BOT_KEY:- Visit Geomi and log in with your account.
- Navigate to the API Keys section and generate a new key.
- Copy the generated key for use in the next step.
-
Make sure to update the
APTOS_BOT_KEYin themcp.jsonfile with the key you just generated.
Verify Cursor runs your MCP
Section titled “Verify Cursor runs your MCP”- Open Cursor Settings:
cursor -> settings -> cursor settings - Head to the
MCPorTools & Integrationssection - Make sure it is enabled and showing a green color indicator

-
Click the “refresh” icon to update the MCP.
-
Make sure the Cursor AI window dropdown is set to
Agent

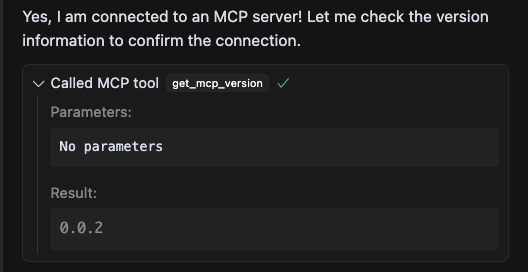
- Prompt the agent with
what aptos mcp version are you using?to verify the connection. The agent should reply with something like: